100% Whole Wheat Sourdough Bread Recipe: Delicious and Easy

This is the ultimate recipe for making traditional sourdough bread using 100% whole grain wheat. To reduce the dense texture and graininess often associated with whole wheat sourdough, I use the scalding method—explained step-by-step in this recipe.
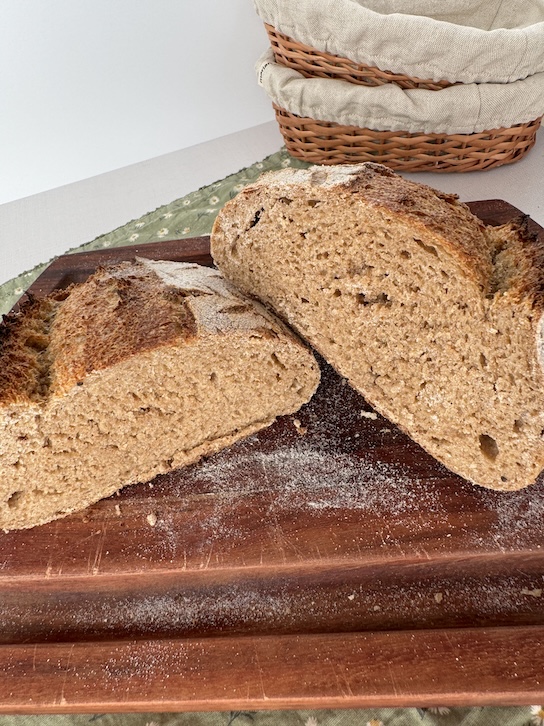
Whole wheat sourdough is truly delicious. It’s not as fluffy as regular sourdough, but it has its own unique charm and depth of flavor.
Next time you’re ready to bake a sourdough boule, be sure to give this recipe a try!
*As an Amazon Associate I earn from qualifying purchases.
Whole Wheat Flour – All Parts of the Grain
One evening, I fell into the rabbit hole of all the health benefits that come from freshly milled flour on the internet. Before you know it, I was ordering Sue Becker’s famous “Home-Ground Flour” book and looking into grain mills (my grain mill is still backordered many months from now).
In the meantime, I was able to order Unifine whole wheat flour from Azure and have been using it as a supplement. It’s been working wonders for making this whole-grain sourdough bread.
If you don’t have an Azure drop near you, this flour should work just as well.
Unlike shelf-stable store bought flour, which only contains the endosperm of a grain, unifine flour contains the entire grain and all its perishable parts. It is best to use up the flour within 1-3 months when stored at room temperature. The impact milling method allows the flour to last a bit longer than freshly milled flour.
I try to make myself feel better by reminding myself that while I might not be getting all the nutrients that come from freshly milled flour, due to oxidation, I’m at least still getting the fiber!
I can’t wait to start milling my own whole grains and try this recipe with truly freshly milled flour. Once I do, I’ll definitely update this post if I need to make any adjustments.
Type of Wheat Berries to Use
When it comes to which type of whole wheat flour to use, both hard red and hard white work great in this recipe. Honestly, I can’t tell much of a difference in flavor or texture between the two when baking this bread. Sometimes, I even mix them for a blend of their unique nutritional benefits.
You want to look for flour that uses the hard wheat berry variety. Those have the most gluten potential, which is what you will need in this recipe.
Sourdough Starter
This recipe doesn’t require an active starter, since you’ll be building a levain. I’ve made the levain using both an active starter and one straight from the fridge, and it has worked just fine either way.
As for the type of starter to use, I’ve had success using both an all-purpose flour starter and a whole wheat starter, both produce great results. Choose whichever one you’d prefer.
Scalding Flour Method – The Key to this Recipe
The key to making a delicious whole wheat sourdough bread is “scalding” a small amount of the flour that will be used. Unlike refined white flour, whole wheat flour is lower in gluten so it does not develop as strong of a gluten network, which is what helps in its rise. So I like to compensate for its lower gluten formation by using this method.
Scalding flour helps make a delicious loaf of whole wheat bread in at least two ways:
1. Gelatinize – Scalding helps by breaking down some of the starches in the flour which in turn helps the dough hold moisture better. Increased moisture retention makes up for the lower protein content by allowing the dough to have better hydration and thus a more moist and pliable dough that is also less crumbly.
2. Softens bran – Adding boiling water to the flour helps soften the sharp bran particles, which are often sifted out in store-bought flour. Softening the bran allows for better gluten development, as there are fewer coarse particles to interfere with the formation of gluten strands—ultimately leading to a better rise in the final loaf.
This process is very similar to the tangzhong method found in many recipes that call for very soft and fluffy breads such as Japanese milk breads and super soft dinner rolls.
Scalding vs. No-Scalding Comparison
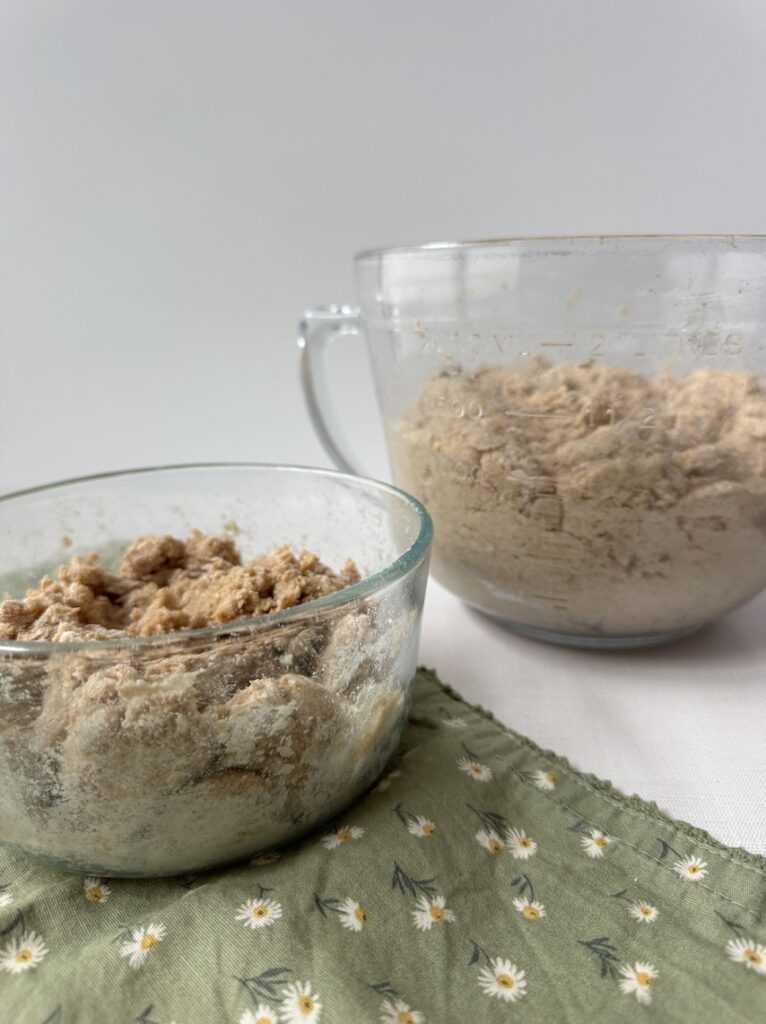
Just to fulfill my own curiosity, and to show you the difference I made two loaves of bread using the exact same dough. The only difference was that when it came time to mix all the ingredients together (levain starter, autolyzed dough,and salt), I gave one dough the scalded flour and the other an equal weight of regular water and flour.
Right from the get go, when I was kneading all the ingredients together, the no-scalding dough was stickier and more loose to work with. I kneaded it for about 10 minutes but it still did not feel and take shape like what I was looking for.
The one with some scalded dough started firming up and getting elastic within a few minutes of me kneading it. It was less sticky and had just the right texture I was looking for.
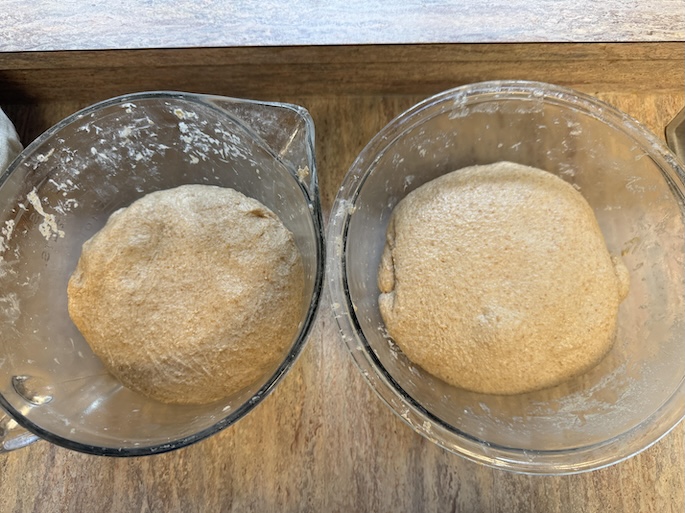
After a few stretch and folds, both doughs did get more elastic but there was a clear difference in the strength of the gluten network in the one with scalded dough and the one with no scalded dough. The dough structure was firmer with the scalded dough.
The scalded dough had a stronger elasticity. The non-scalded dough would more easily rip when stretched too far.
After the cold ferment, the non-scalded dough was flatter than I’d usually like to see my dough looking. However, once baked, the oven spring did come out quite beautiful still.
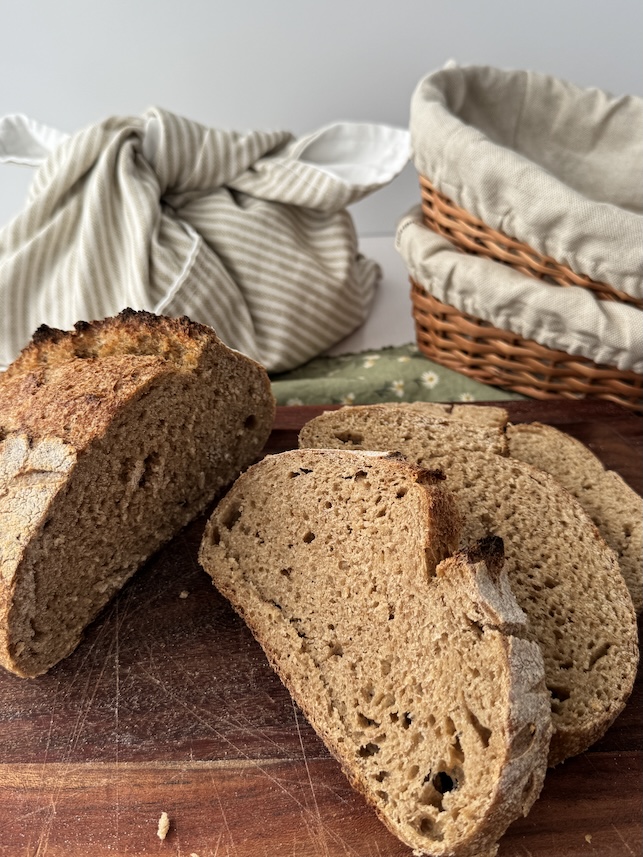
Upon baking, both rose beautifully and the oven spring was basically identical. Once cooled and cut through, the one without scalded dough had bigger air pockets in the bread, which I don’t prefer.

In terms of looks, from the outside one cannot tell the two apart. However, once I cut into it, the middle of the non-scalded dough was gummy and felt more dense. The one with the scalded dough felt lighter, softer, and had a nice spring to it when pressed.
After eating it, although both still had the amazing nutty flavor, the bread with the scalded dough was the clear winner. It was airier and more moist in a way. The one with the non-scalded dough was tougher (especially its crust) and had a more crumbly texture.
All in all, if you have the extra time, I’d say it’s definitely worth scalding a portion of your dough. The gluten structure was noticeably stronger, resulting in fewer large holes throughout the loaf.
But the biggest difference was in the taste and texture, both were significantly improved by adding a scalding portion.
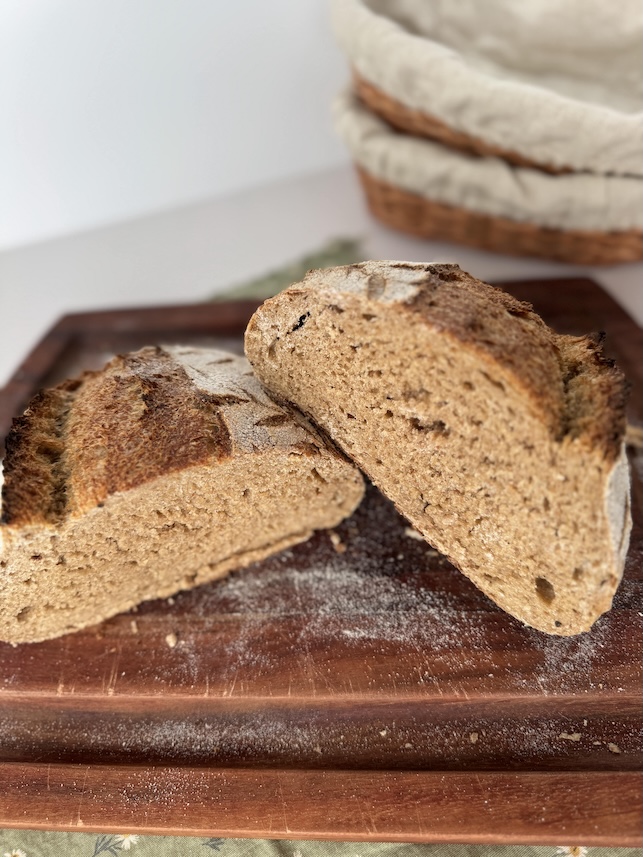
The French Boule Bio
This recipe is our absolute favorite one to make. We always have it on rotation in our home.
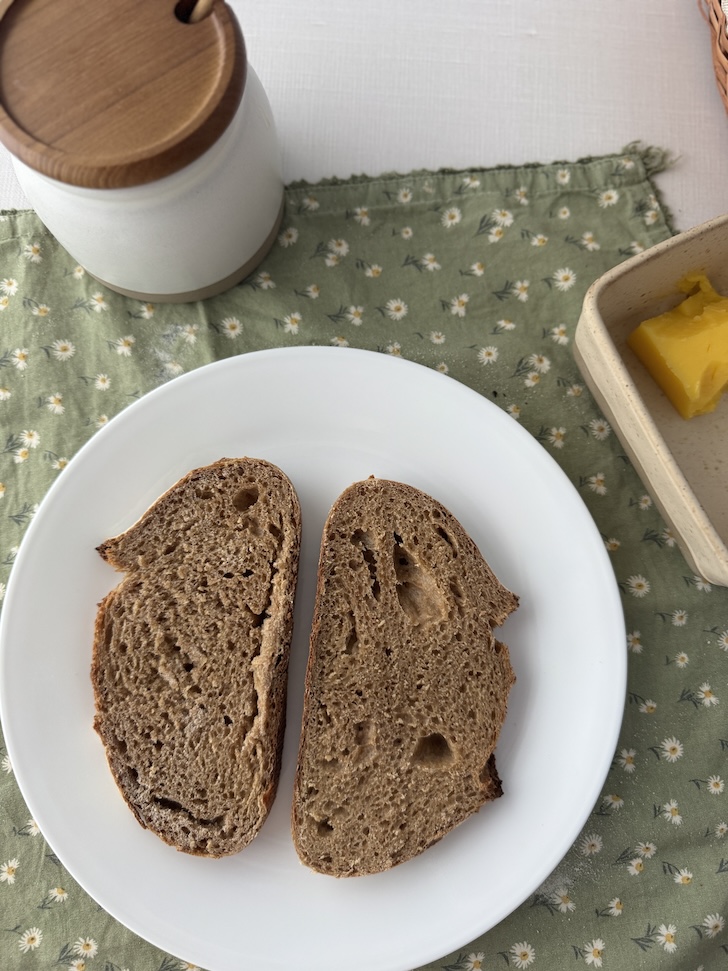
The taste is perfectly nutty and so comforting because it really feels like a great homemade bread.
It makes wonderful open toast sandwiches. I love it with salted butter and honey. My husband loves it with peanut butter and honey or jam.
Between my husband and I, we can devour a loaf within 2 days so I have now shifted to making two loaves at a time and then freezing one. You can read about how to best freeze this bread below.
Unbeknownst to me however, the whole wheat sourdough bread I ended up making was the “boule bio” that my husband grew up eating in France. It is one of his favorites and is often sold in French grocery stores like Carrefour.
We started looking up the ingredients used in la boule bio and was surprised by how the ingredients are exactly what you’d see in homemade bread. No preservatives. Just a few simple whole ingredients: whole wheat flour, starter, water, and salt.
Why You Should Make Your Own Bread
It’s just amazing how in Europe, even when my husband was a child, store-bought bread there used such simple ingredients. In the United States, I feel like the switch to more simple and whole ingredients has just become more common for breads sold by big manufacturers. And if they are, it’s quite expensive.
I grew up on wonderbread and other enriched fortified bread. That was what was proposed to us as the healthiest thing you can eat. It was the biggest box at the bottom of the food pyramid after all.
Fast forward many years later and we’re trying to go as simple as we can when it comes to the ingredients in our food. That is how I started getting into making my own bread (also because we cannot find good sourdough bread since we moved away from the San Francisco Bay Area).
Making your own freshly milled bread also helps save so much money. A decent loaf of organic sourdough bread can cost you more than $10. It goes for even more if it is 100% freshly milled whole wheat bread.
It also is very easy to make after you’ve done it a few times. Within a few tries, you will know the measurements by heart and know how the dough should feel and look once it is ready at each step in the process. Don’t give up if the first few tries do not go well!
The outcome is really worth the trouble, which is not much trouble at all. Follow this easy recipe to begin making some of the best whole wheat sourdough bread at home.
Kitchen Tools / Equipment
- Large mixing bowl
- Flour towel or airtight lid for mixing vessel
- 2 glass bowls with airtight lid for levain and scalded dough
- Scale
- Danish dough hook
- Dutch oven or combo cooker
- Razor blade or bread lame
Whole Wheat Sourdough Bread Recipe
Ingredients
- 100g Sourdough Starter Levain
- 50g whole hard wheat
- 50g water
- 5-10g starter (could be starter made from whole wheat or all purpose)
- 500g Whole Wheat flour
- 400g Water
- 10g Salt
Instructions
Making the Starter Levain (at least 12 hours before starting)

- Make levain the night before mixing 50g flour 50g water and 5g of sourdough starter (when it’s colder or if you have non-active sourdough starter use 10g)
Mixing your Dough
- The next morning, autolyze your ingredients
- In a bowl set aside 100g of flour
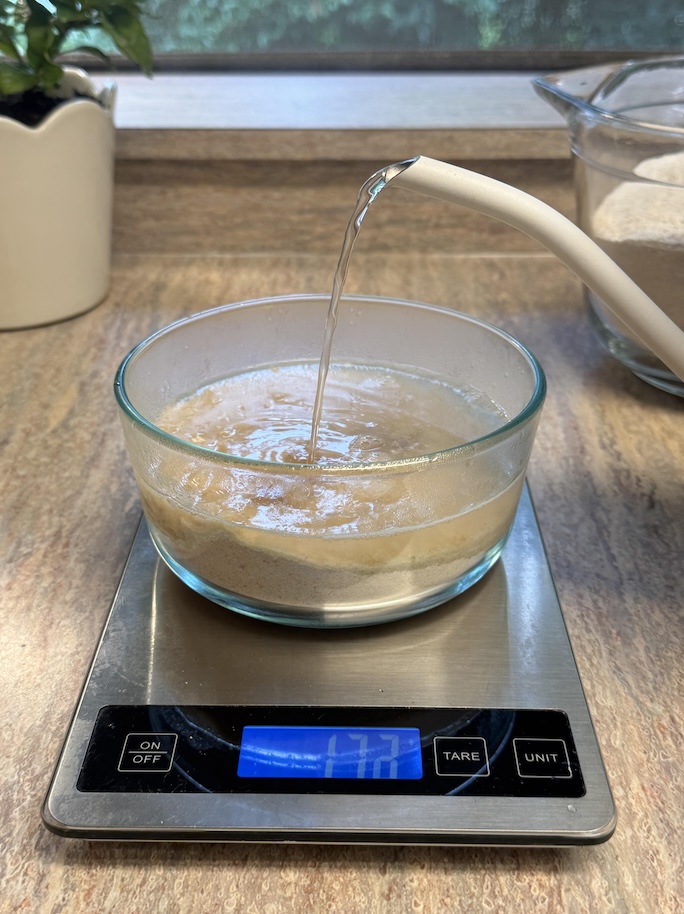
- Add 100g of boiling water to it from a kettle, cover and let sit for 30 minutes
- In a large bowl, mix 400g flour with 300g water, cover and let sit for 30 minutes
- After 30 minutes, mix the scalded flour, autolyzed flour, levain, and salt together with a dough whisk.
- Once incorporated enough, switch to using your hand or any mixer using a dough hook.
- If using hands, just knead it however you like. Go to town on it.
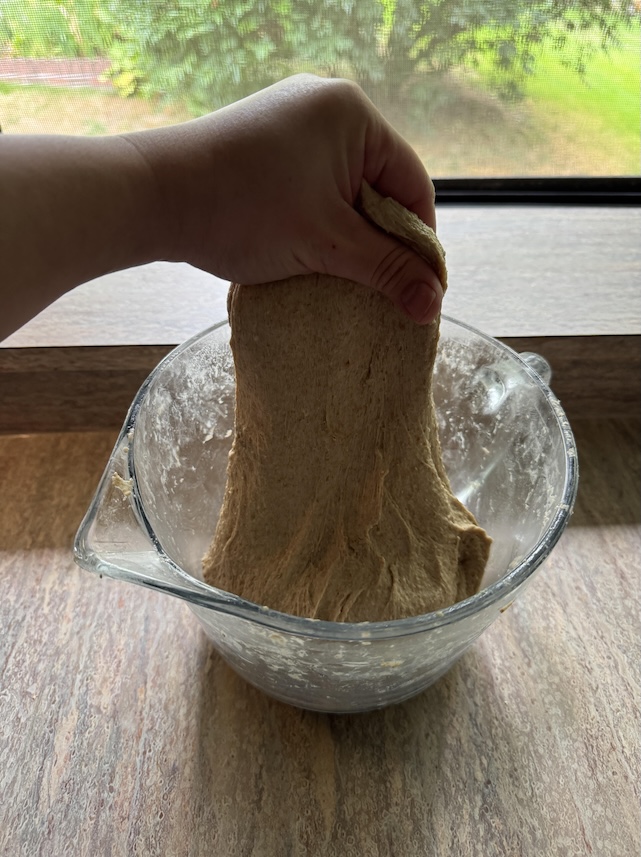
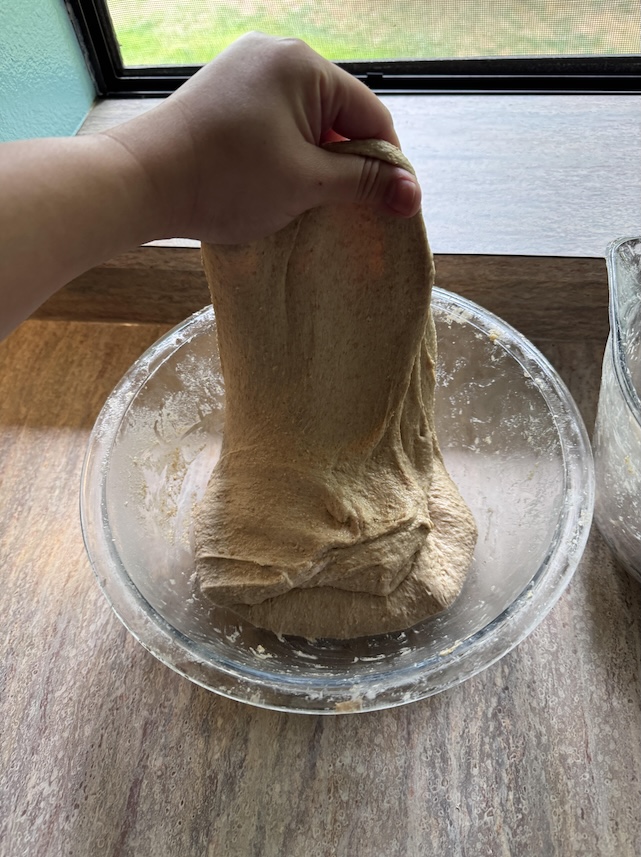
- Mix and knead for 5-6 minutes until the dough is smooth and elastic – this will develop the gluten in your dough and help it rise and form its shape later
- If using a dough mixer, let it mix with the dough hook for 10-15 minutes on the medium-low setting (About a 4 for Kitchen Aid).
Bulk Fermentation
- Cover with a damp towel or airtight lid
- Bulk ferment for 4-6 hours until the dough looks 30-40% larger in size (it could be even longer during the colder months)
- Between that time, do a few stretch and folds every 30 minutes to an hour allowing the dough to ferment untouched for the last 2 hours of your bulk ferment
- I typically do 2 stretch and folds and then 2 coil folds at the end to preserve the air bubbles that have already formed
- If you don’t have the time or capacity to do stretch-and-folds, it should be fine since we kneaded it so well in the initial mixing, which is key to this recipe – although it is best to get in a few.
Shaping
- Pour your dough out onto your counter
- Shape into a boule to create some tension
- Let the dough rest on your counter or cutting board for 15-20 minutes to allow the dough to relax and make the final shaping easier. This also helps prevent tears from forming when you begin to create tension.
- Spritz your hands and work surface with water. Start shaping your dough into a round boule or batard ensuring you create good tension across the top of the dough
Cold Fermentation/Retarding Bread Dough
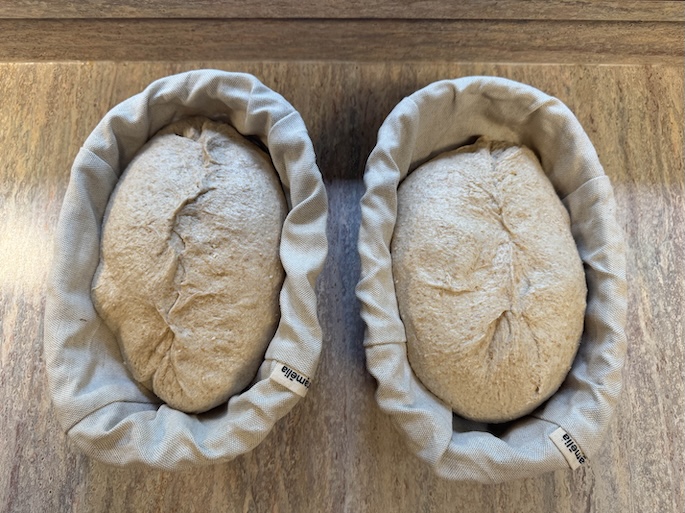
- Lightly flour your banneton with wheat or rice flour
- Transfer the dough to the banneton with the bottom of the dough facing up
- Stitch or pinch the bottom of the dough together and then lightly flour with a bit of rice or wheat flour
- Cover and cold proof your dough in the refrigerator for at least 8 hours but not more than 24 hours.
Baking
- When ready to bake, preheat oven to 450 F with dutch oven inside for 30 minutes
- While the oven is preheating, 5 minutes before it’s ready to bake in, turn the dough out onto your parchment paper or bread sling
- Dust off any excess flour
- Score your bread in the direction you want it to expand **See notes below for two scoring methods to choose from
- Create steam: add ice cubes or spritz your dough directly depending on the scoring method you choose
- Place dough into a baking vessel and bake for 30 minutes at 450F.
- Remove the lid and bake for an additional 12 minutes until golden brown
- After removing it from the oven, transfer the bread to a wire rack and allow it to cool completely before cutting into it.
The Two Scoring Methods**
For a Simple Score
- If you don’t care about a beautiful design on your bread, you can just do one deep score across your dough in the direction you want it to expand.
- Drop 1-2 ice cubes into the dutch oven under the parchment paper or bread sling right before baking.
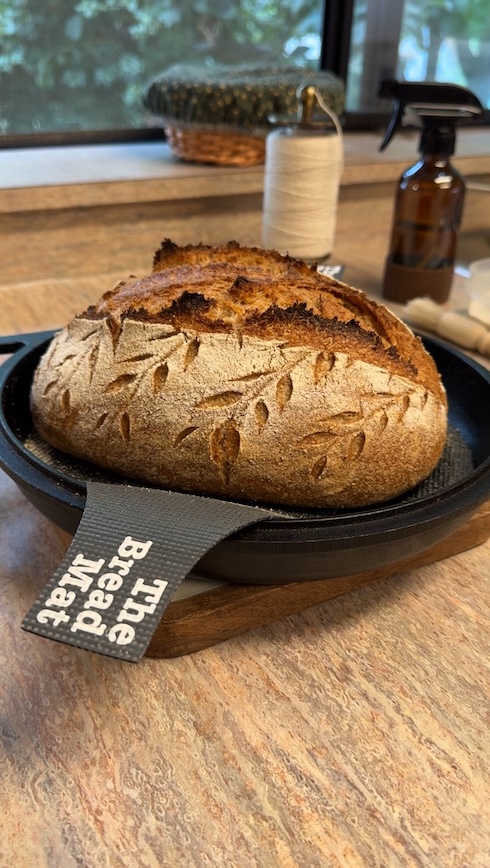
For a Beautiful Score or Design
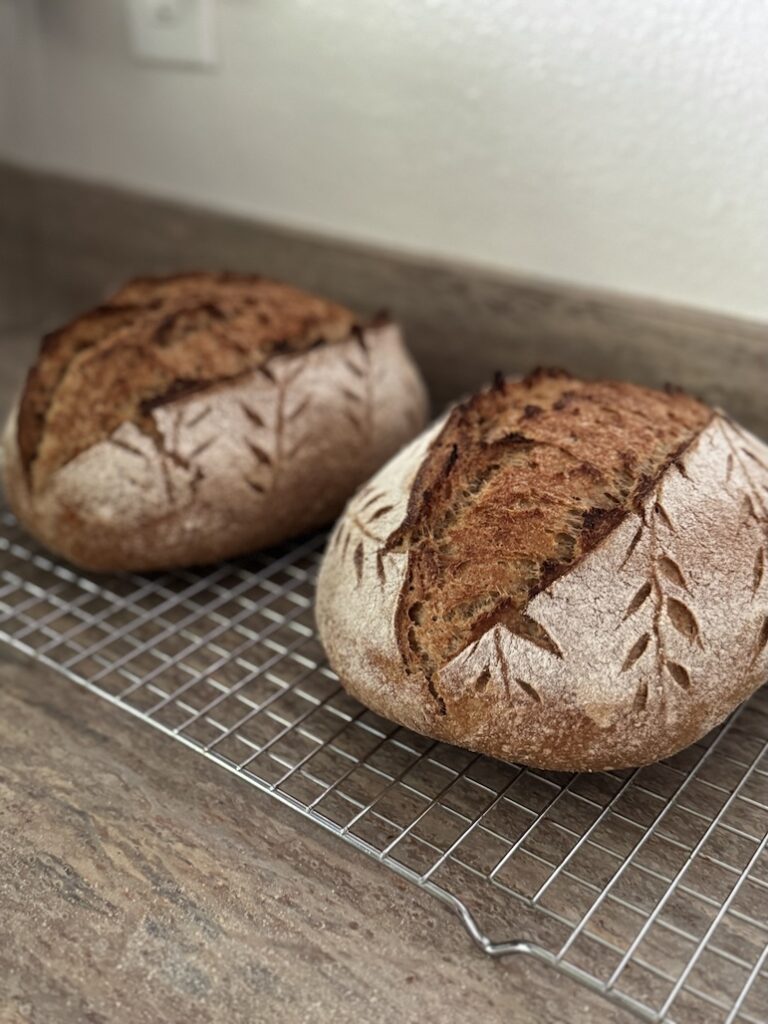
- If you care for beautiful scoring (like I always do!) and want your design to show but still want a great oven spring, the trick is to lightly spritz the top of your dough with a bit of water and then dust a thin even layer of rice or wheat flour over the top.
- Create your design using a scoring lame and then do one deep score in the direction you want your bread to rise,
- I find that this method allows the design to still show through well whereas dropping in ice cubes created too much steam that the design disappeared into the dough.
- Do NOT add ice cubes for this method
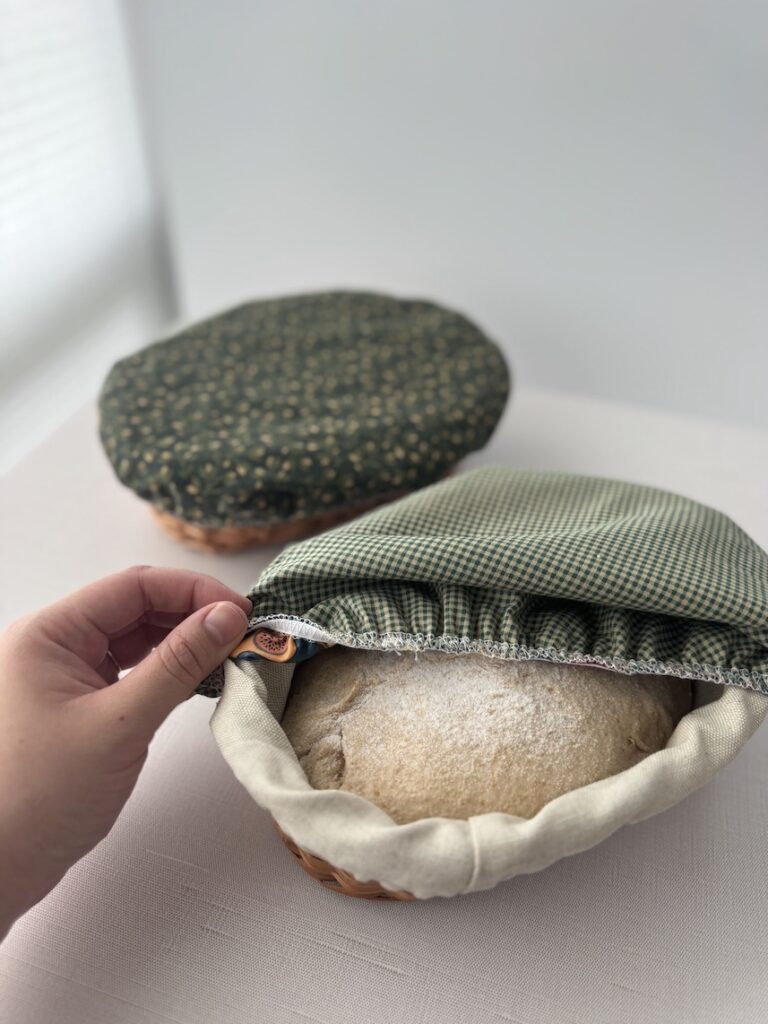
Storing Your Bread
Store the bread at room temperature in a linen bag, bread box, or cake dome for a few days. I find that keeps the bread in its best state.
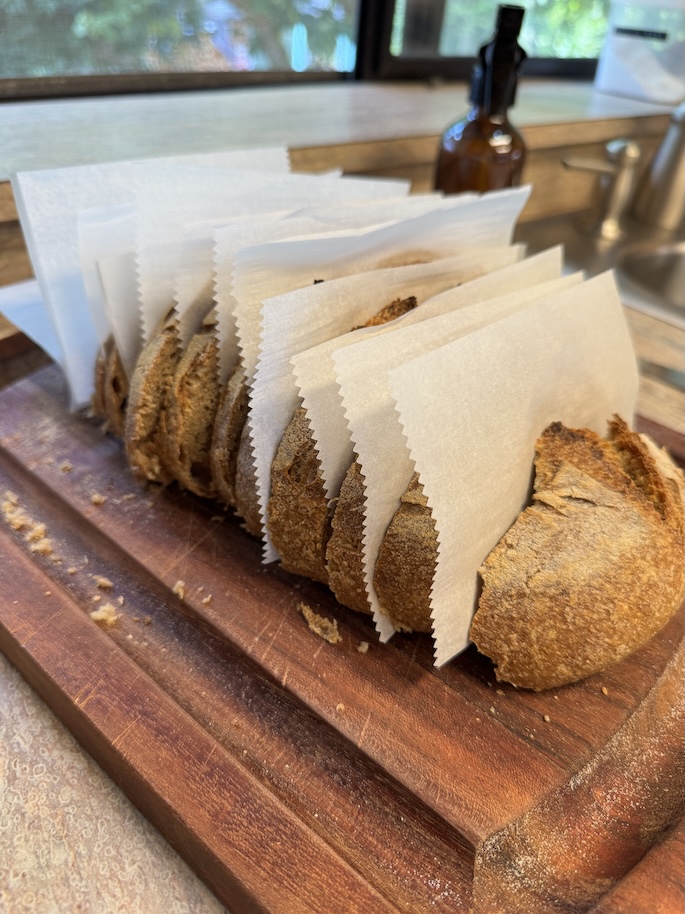
If it will take you more than a few days to eat, slice before putting the bread in the freezer with a small piece of parchment paper in between each slice.
When ready to eat, take the slices out of the freezer and pop it in a toaster right before serving and it will taste as good as new.
Inclusion Options/Suggestions
I find whole wheat sourdough bread perfect as is but for some fun variations you can add dried fruits such as raisins, figs, or apricots. You can also add various seeds or a combination of them for a delicious seeded bread.
For more savory options try adding inclusions such as jalapeno and cheese, olives, garlic, or sundried tomatoes. The possibilities are endless with this delicious whole wheat sourdough bread recipe.
Tips For Best Results:

- The key to whole wheat sourdough bread is mixing and kneading it very well at the beginning. You really want to help it develop a strong gluten network.
- Whole wheat flour ferments a lot faster than white bread flour so be sure to keep an eye on it. Even in our cooler Pacific Northwest kitchen, this dough ferments 2-4 hours faster than my breads made with white bread flour.
- I’ve let the dough cold ferment for too long once because life got in the way. I ended up with a pretty flat and dense bread.
- I really don’t recommend letting it bulk ferment for more than 24 hours even though I can go for up to 48 hours with store bought flour.
- Rule of thumb, whole wheat flour just ferments in less time. The microbes really love fresh milled/whole wheat flour. It has everything they need to thrive.
- When combining all the ingredients together, really knead it well until the dough feels elastic and smooth. It’ll tighten up quite well once you do so and you’ll feel it as you knead if doing so by hand.
- Score dough as soon as it comes out of the refrigerator. The colder the dough the easier it is to get a clean and sharp cut.

100% Whole Wheat Sourdough Bread Recipe: Delicious and Easy
Equipment
- 1 Kitchen Scale
- 1 Large Mixing Bowl
- 1 Danish Hook
- 1 Dutch Oven/Combo Cooker
- 1 Bread Lame
- Flour Towels
Ingredients
- 105 g Sourdough Starter Levain Made at least 12 hours before
- 500 g Whole Hard Wheat Flour
- 400 g Water Divided, 100g boiling water for scalding
- 10 g Kosher Salt
Instructions
Making the Starter Levain (at least 12 hours before starting)
- Make a levain the night before mixing 50g of flour (all purpose or whole wheat flour is fine here), 50g of water, and 5g of sourdough starter.
- If it is colder or you have a less active starter, use 10g of starter.
Mixing your Dough
- The next morning, autolyze your ingredients: In a small bowl set aside 100g of flour and add 100g of boiling water from a kettle to it. In a large bowl, mix the remaining 400g flour with the remainder 300g of water.
- Cover both with an airtight lid or damp towel and let it sit for 30 minutes.
- After 30 minutes, mix the scalded flour, autolyzed flour, levain, and salt together with a dough whisk.
- Once incorporated enough, switch to using your hand or a mixer using a dough hook.
- If using hands, just knead it however you like. Go to town on it.
- Mix and knead for 5-6 minutes until the dough is smooth and elastic – this will develop the gluten in your dough and help it rise and form its shape later
- If using a dough mixer, let it mix with the dough hook for 10-15 minutes on the medium-low setting (About a 4 for Kitchen Aid).
Bulk Fermentation
- Cover with a damp towel or airtight lid
- Bulk ferment for 4-6 hours until the dough looks 30-40% larger in size
- Between that time, do a few stretch and folds every 30 minutes to an hour allowing the dough to ferment untouched for the last 2 hours of your bulk ferment
- I typically do 2 stretch and folds and then 2 coil folds at the end to preserve the air bubbles that have already formed
- If you don’t have the time or capacity to do stretch-and-folds, it should be fine since we kneaded it so well in the initial mixing, which is key to this recipe.
Shaping
- Pour your dough out onto your counter
- Shape into a boule to create some tension
- Let the dough rest on your counter or cutting board for 15-20 minutes to allow the dough to relax and make the final shaping easier. This also helps prevent tears from forming when you begin to create tension.
- Spritz your hands and work surface with water. Start shaping your dough into a round boule or batard ensuring you create good tension across the top of the dough
Cold Fermentation/Retarding Bread Dough
- Lightly flour your banneton with wheat or rice flour
- Transfer the dough to the banneton with the bottom of the dough facing up
- Stitch or pinch the bottom of the dough together and then lightly flour with a bit of rice or wheat flour
- Cover and cold proof your dough in the refrigerator for at least 8 hours but not more than 24 hours.
Baking
- When ready to bake, preheat oven to 450F with dutch oven inside for 30 minutes
- While the oven is preheating, 5 minutes before it’s ready to bake in, turn the dough out onto your parchment paper or bread sling
- Dust off any excess flour
- Score your bread in the direction you want it to expand **See notes below for two scoring methods to choose from
- Create steam: add ice cubes or spritz your dough directly depending on the scoring method you choose
- Place dough into a baking vessel and bake for 30 minutes at 450F.
- Remove the lid and bake for an additional 12 minutes until golden brown
- After removing it from the oven, transfer the bread to a wire rack and allow it to cool completely before cutting into it.
Notes
I hope this recipe helps you on your journey to incorporate more whole grains in your meals! If you made this recipe, I’d love to hear how you liked it. Please give a rating below – I would appreciate any feedback.
Sincerely,
D